Making your own weighted blanket is an amazing project. You get to build a personalized therapeutic tool from scratch, choosing the fabric, calculating the perfect weight, and putting it all together for a blanket that offers that incredible calming deep pressure—all for way less than you'd pay in a store.
Why Craft Your Own Weighted Blanket
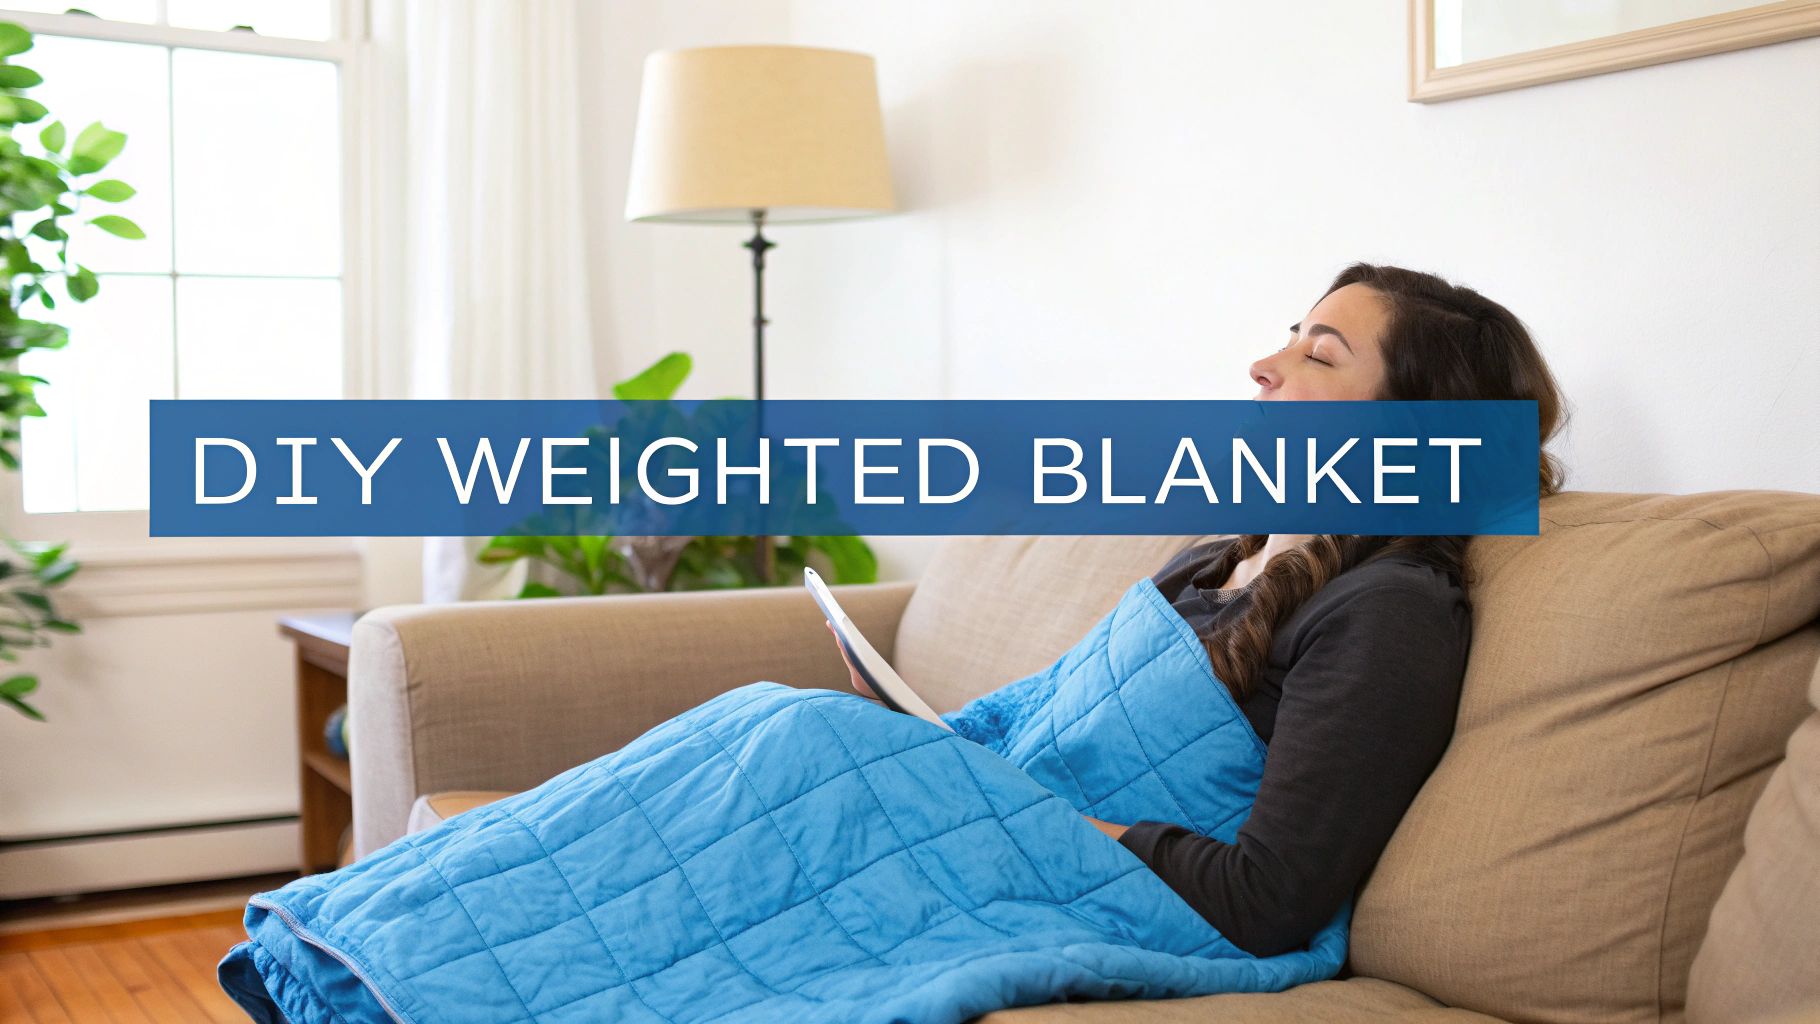
The idea of making your own therapeutic tool might sound a little intimidating, but trust me, a DIY weighted blanket is one of the most accessible and rewarding projects out there. It’s way more than just a craft; it's a real investment in your well-being that leaves you with a cozy source of comfort and a tangible sense of accomplishment.
Let's be honest, the biggest driver for most people is the huge cost savings. As therapeutic sleep aids have gotten more popular, so has the DIY community around them. In fact, a 2023 survey found that about 18% of weighted blanket users made their own at home.
When you look at the numbers, it makes perfect sense. The average cost for a homemade version is usually between $30 and $60. That's a massive difference compared to the $100 to $250 price tag you’ll see on many store-bought options.
Full Control Over Customization
Budget aside, customization is where a DIY project really shines. You're in the driver's seat for every single element, which means the final blanket is perfectly suited to you. That’s a level of personalization you just can’t get off the shelf.
You get to call all the shots:
- Fabric and Texture: Want something super soft and cozy? Go with minky. A hot sleeper? Breathable cotton is your best friend. You can even pick a fun patterned fleece to match your bedroom decor.
- Precise Weight: You can dial in the exact weight for your body, making sure the therapeutic benefits are just right—not too heavy, not too light.
- Specific Dimensions: Need a small lap pad for focused comfort at your desk? Or a full-sized blanket tailored perfectly for your queen bed? You can make it happen.
This whole project is a journey toward creating something functional that provides that amazing deep pressure therapy for anxiety and stress relief. The gentle, firm pressure is what helps calm the nervous system, and building it yourself makes it even more special.
Your DIY Weighted Blanket Project at a Glance
Here's a quick overview of the key decisions you'll make when creating your blanket.
| Decision Point | Common Options | Key Consideration |
|---|---|---|
| Fabric | Minky, Fleece, Cotton, Flannel | Balance comfort, breathability, and durability. |
| Filler Material | Poly Pellets, Glass Beads, River Stones | Consider texture, weight, and washability. |
| Blanket Weight | 10% of body weight is the standard rule | Adjust based on personal preference and comfort. |
| Construction | Sewing Machine vs. No-Sew (Fleece Tie) | Choose based on your skill level and available tools. |
| Weight Distribution | Pocketed Grid vs. Evenly Filled | A grid ensures weight stays put for consistent pressure. |
Each of these choices lets you fine-tune the blanket to be exactly what you need.
A Manageable and Rewarding Project
Even if you don’t have much crafting experience, creating your own weighted blanket is a surprisingly straightforward process. The core idea is simple: create a grid of pockets, fill them with a weighted material like poly pellets or glass beads, and then seal them up.
There are both sewing and no-sew methods available, so you can tackle this project no matter your skill set.
The real reward of a DIY weighted blanket isn't just the money you save—it's the deep satisfaction of using a comfort tool you built with your own hands, tailored exactly to your personal preferences.
As we go through this guide, I'll walk you through every decision, from picking out the right materials to the final stitch. By the end, you won't just have a blanket; you'll have a testament to your creativity and a key to deeper relaxation.
Choosing the Right Fabric and Filler
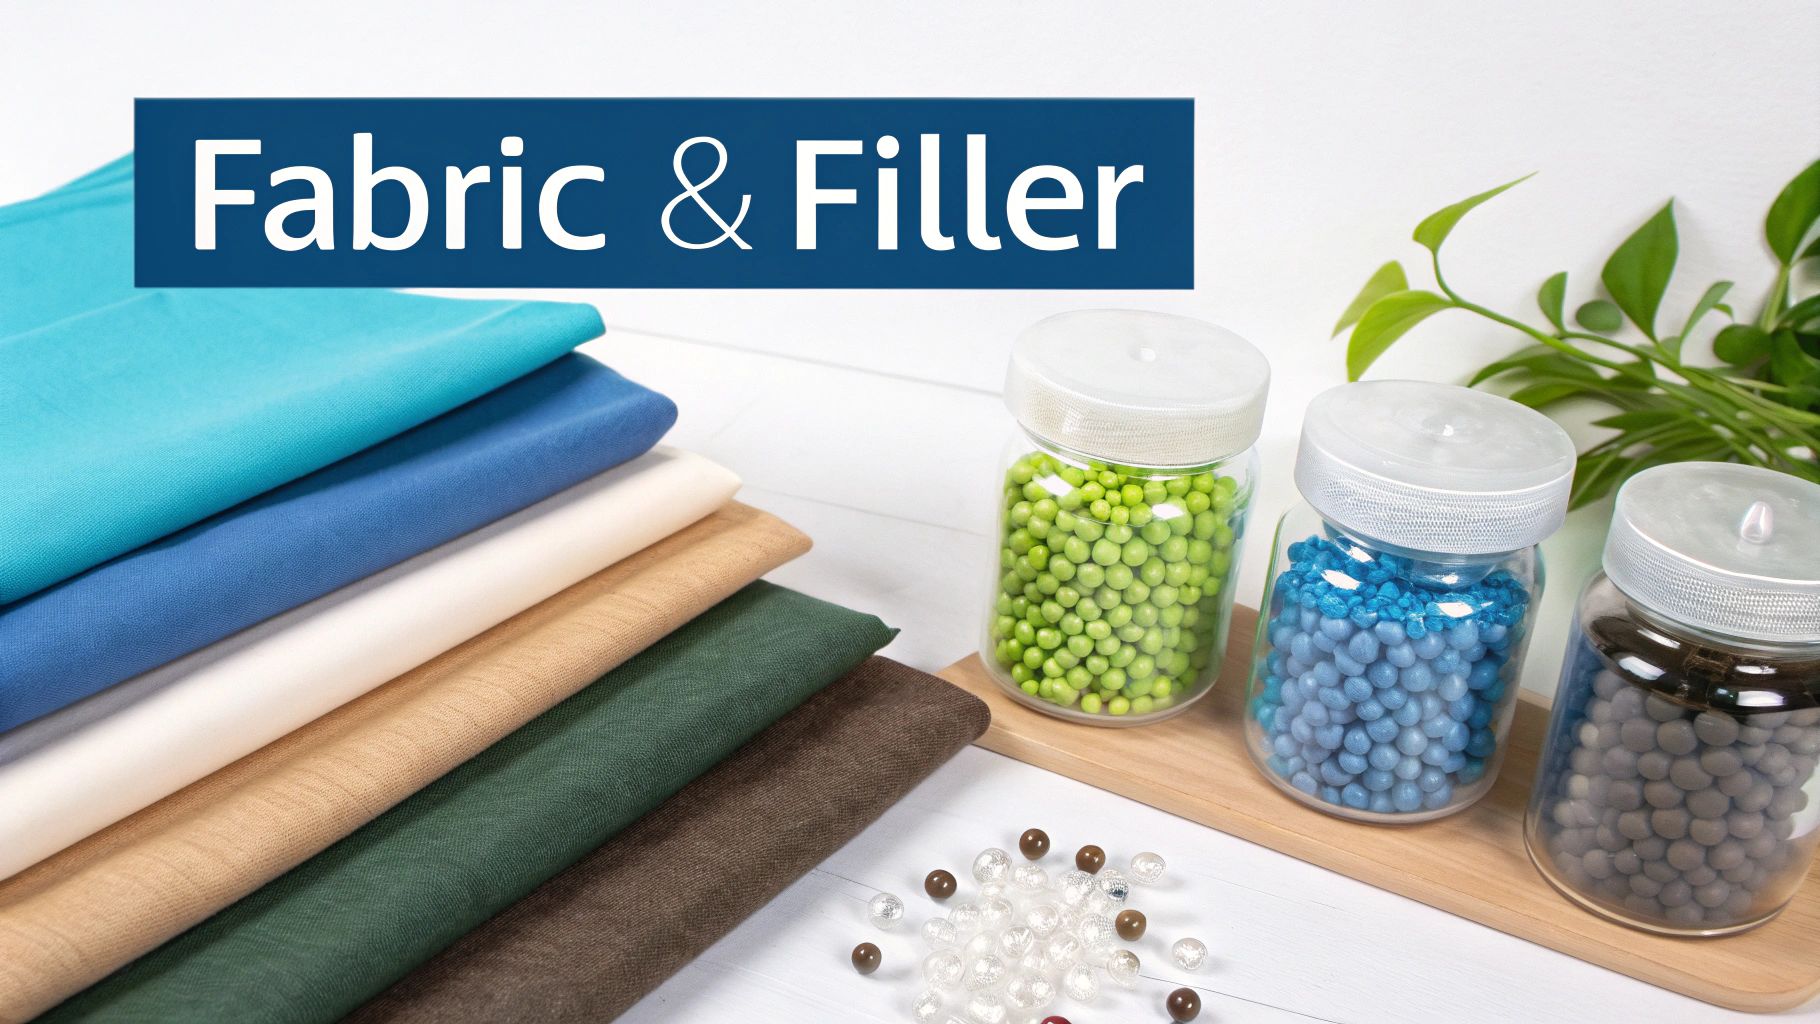
The materials you choose are really the heart and soul of your weighted blanket. They're what will define its final feel, how comfortable it is, and ultimately, how long it lasts. This isn't just about picking a nice color; your choices here directly shape the therapeutic experience.
Think of it like this: a soft, breathable fabric can be the difference between a relaxing night's sleep and a stuffy, restless one. The right filler is what makes sure the weight is distributed smoothly and quietly. You're basically personalizing your comfort from the ground up, getting to pick the perfect combo for your sensory preferences—whether you crave a velvety touch or a cool, crisp feel against your skin.
Selecting the Perfect Fabric
The fabric is the first thing you'll feel, so you have to love it. When you're browsing, think about both the texture and how well it handles temperature, especially if you tend to sleep warm. Every material brings something different to the table.
Here are some of the most popular—and effective—choices I've seen people use:
- Cotton: It's a true classic for a reason. Cotton is durable, easy to find, and super breathable. This makes it an amazing all-season choice and a total lifesaver for hot sleepers who need that airflow.
- Minky: If you've ever touched a high-end baby blanket, you know what minky feels like. It's an incredibly soft, plush polyester fabric that gives you a cozy, warm sensation. Perfect for anyone who loves to snuggle up, especially in colder climates.
- Fleece: Another great cozy option. Fleece is soft, warm, and generally pretty inexpensive. I often recommend it for beginners, especially if you're trying a no-sew blanket that uses a tie-fringe method.
- Bamboo: Known for its silky softness and amazing temperature-regulating abilities, bamboo is a more premium choice. It's fantastic at wicking moisture away, making it another top-tier option for anyone who gets warm at night.
Honestly, the final call just comes down to what you prefer. If you're all about that soft, sensory experience, minky is an absolute winner. For a more traditional, breathable blanket that will last for years, you can't go wrong with cotton.
Finding the Right Filler Material
Okay, on to the filler—this is what actually gives your blanket its therapeutic weight. In the DIY world, it usually boils down to two main contenders: plastic poly pellets and micro glass beads. Each has its own pros and cons.
Plastic Poly Pellets: These are little pebble-like plastic beads, kind of like what you’d find in a nice stuffed animal. They're budget-friendly, tough, and you can grab them at most craft stores. The main downside? They can be a bit bulkier and might make a soft rustling sound when the blanket moves.
Micro Glass Beads: Imagine tiny beads the consistency of sand—that's what micro glass beads feel like. They're much smoother and denser than plastic pellets. Because they're so small, they create a thinner, less bulky blanket that has a more fluid, draped feel. A huge plus is that they're virtually silent, which is a big deal for light sleepers. They do cost a bit more, but many crafters feel the quiet, smooth texture is totally worth it.
Recent market data shows a clear trend here. Poly pellets are the most popular choice, used by 72% of makers because they're so affordable. Glass beads are the go-to for 23% who prefer that finer texture. For context, the average DIY adult blanket is usually between 10 and 15 pounds and measures around 60x80 inches. You can explore more about these therapeutic blanket trends to see how your project stacks up.
Pro Tip: Whatever you do, avoid using organic fillers like rice, beans, or dried corn. I know they seem like a cheap, natural option, but they can't be washed. Worse, they can attract pests or even grow mold over time, completely ruining all your hard work.
Gathering Your Essential Tools
Before you dive in, it’s a good idea to get all your supplies laid out. Trust me, having everything you need within reach makes the whole process way smoother and more enjoyable.
For a Sewn Blanket You Will Need
- Sewing Machine: Your standard machine will do just fine. Just make sure you have a durable needle, like a denim needle, that can punch through multiple layers of fabric without breaking a sweat.
- Heavy-Duty Thread: Go for something strong, like an all-purpose polyester thread. You need it to create durable seams that can hold the filler securely without any accidents.
- Fabric Scissors or a Rotary Cutter & Mat: A rotary cutter is a game-changer for getting fast, perfectly straight cuts. But if you don't have one, a sharp pair of fabric scissors will get the job done.
- Ruler or Yardstick: This is essential for measuring and marking out the grid for your pockets. No eyeballing this part!
- Fabric Marking Pen or Tailor's Chalk: You'll need this for drawing those precise sewing lines.
- Kitchen Scale: Absolutely crucial. This is for weighing out the filler for each individual pocket to ensure even distribution.
- Small Funnel: This little tool makes pouring filler into the small pockets so much easier and way less messy.
Once you have all your materials and tools gathered, you're all set for the next big step: figuring out the perfect weight and size for your blanket.
How to Calculate Blanket Weight and Size
Getting the weight and dimensions right is hands-down the most critical part of this whole project. It’s the difference between a blanket that delivers that signature, calming hug and one that’s just… a heavy quilt. The goal here is to create gentle, calming pressure—what experts call Deep Pressure Stimulation—without making anyone feel trapped or restricted.
The gold standard starting point is the 10% rule. It’s a simple but effective guideline: your blanket should weigh about 10% of the user’s body weight. So, for a 150-pound adult, you’d aim for a 15-pound blanket. For a 50-pound child, a 5-pound blanket is the perfect starting weight.
But think of this as a baseline, not a hard-and-fast law. Personal preference is huge. I’ve known people who prefer a little more heft, maybe closer to 12%, while others find 8% is their sweet spot. The key is to start with the 10% rule and be ready to tweak it based on comfort.
The 10 Percent Rule in Action
So, let's nail down that ideal weight first. This step ensures the Deep Pressure Stimulation is actually effective without being overwhelming. A blanket that’s too light won’t provide that calming sensation, but one that’s too heavy can feel uncomfortable and even become a safety issue.
The math is pretty straightforward:
- Start with the user's body weight in pounds.
- Multiply that number by 0.10 to find your 10% target.
- From there, you can consider adding one or two extra pounds for a more noticeable pressure, but that's totally optional.
Let's take a 170-pound adult as an example:
- 170 lbs x 0.10 = 17 lbs
Based on that, you might decide on a 17-pound blanket, or you could round up to 18 or even 20 pounds if they know they like a bit more pressure.
CRITICAL SAFETY NOTE: The user must always be able to remove the blanket on their own, without any help. This is non-negotiable, especially for children, the elderly, or anyone with mobility issues. If you’re ever in doubt, always, always go with a lighter weight.
When to Adjust the Standard Formula
Remember, the 10% rule is just a guide. There are definitely times when you need to adjust it for safety and comfort.
You should always chat with a doctor or occupational therapist before making a weighted blanket for:
- Young Children: For kids under 50 pounds, the rule is closer to 10% of their body weight plus just one pound. And a crucial reminder: never use a weighted blanket for an infant or toddler.
- Seniors: Older adults often have less muscle mass or mobility challenges, so starting lighter—around 7-8% of their body weight—is a much safer bet.
- Individuals with Medical Conditions: Anyone with respiratory, circulatory, or joint problems absolutely needs a doctor's green light to ensure a weighted blanket is safe and to figure out the right weight for their specific needs.
A person's build matters, too. A tall, thin person and a shorter, stockier person who weigh the same might feel the pressure very differently. This is where you have to trust your gut and listen to feedback.
Choosing the Right Blanket Dimensions
Once you've got your target weight figured out, it's time to think about size. The dimensions are just as important as the weight because they control how that weight is spread across the body. A weighted blanket isn’t like a comforter; it’s designed to fit the person, not the entire bed.
The perfect size should cover the user from their chin down to their feet, without a ton of extra fabric hanging over the sides of the bed. Too much overhang will just pull the blanket off during the night, dragging all that comforting weight onto the floor.
For a deeper dive into picking the perfect dimensions, our complete weighted blanket size guide has everything you need to know.
To help you get started, here’s a quick reference table.
Recommended Blanket Weight by User Body Weight
Use this guide to calculate the target weight for your DIY weighted blanket based on the standard 10% rule.
| User Body Weight (lbs) | Recommended Blanket Weight (lbs) | Recommended Blanket Weight (kg) |
|---|---|---|
| 40 - 70 lbs | 5 - 8 lbs | 2.3 - 3.6 kg |
| 70 - 100 lbs | 8 - 12 lbs | 3.6 - 5.4 kg |
| 100 - 130 lbs | 12 - 15 lbs | 5.4 - 6.8 kg |
| 130 - 170 lbs | 15 - 20 lbs | 6.8 - 9.1 kg |
| 170 - 200+ lbs | 20 - 25 lbs | 9.1 - 11.3 kg |
Getting these calculations right from the start is the foundation of your project. It’s what will make your DIY weighted blanket safe, effective, and perfectly suited to its user.
Assembling Your Weighted Blanket
Alright, you’ve got your materials sorted and your weight calculations done. Now for the fun part: bringing it all together. This is where your fabric, filler, and careful planning transform into a personalized comfort tool. We’ll go over two different routes to get you there: the classic sewn method for maximum durability and a clever no-sew alternative if you don't have a sewing machine.
Both approaches are totally manageable. The trick is to break the project down into smaller steps. Patience and precision are your best friends here, especially when it comes to getting that weight spread out just right.
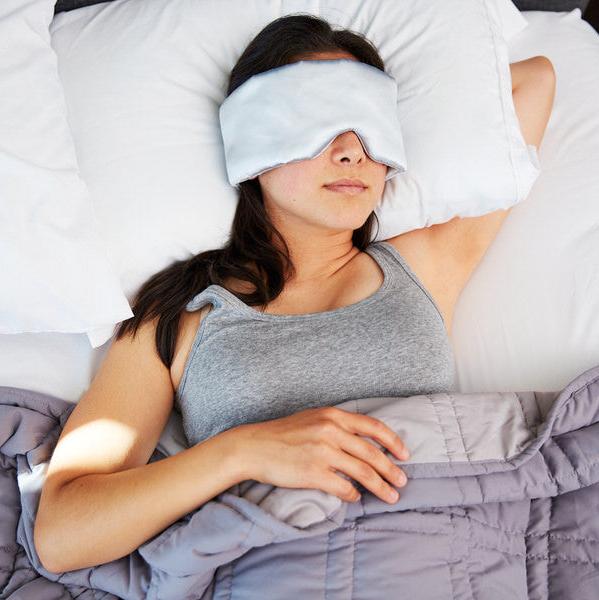
This visual is a great little reminder of the core calculation you just did, showing how body weight translates into the perfect blanket weight.
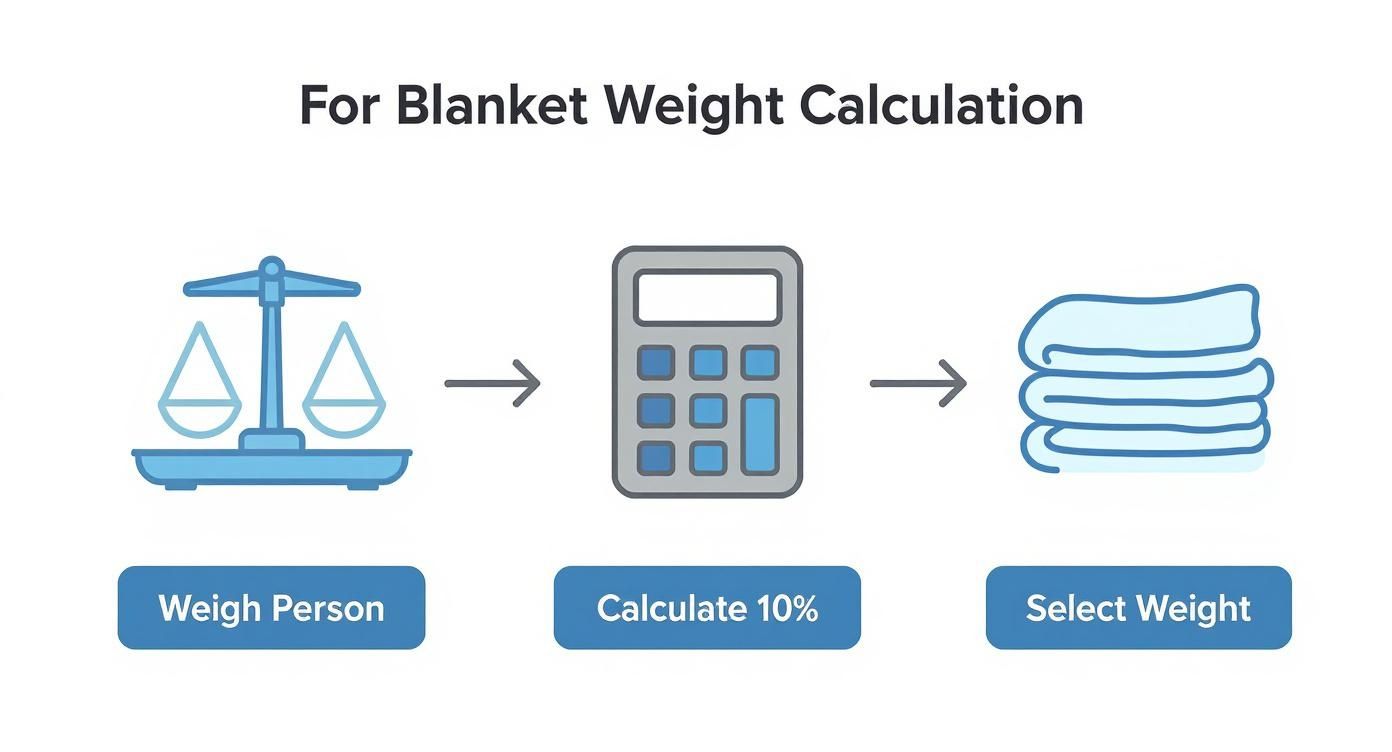
Getting this right—weighing the person, calculating 10%, and choosing the final weight—is what makes your blanket both safe and wonderfully effective.
The Classic Sewn Method
This technique involves creating a grid of individual pockets, which is hands-down the best way to keep your filler from shifting around. It prevents all the weight from ending up in one corner and gives you that consistent, gentle pressure across your entire body.
If you're completely new to this, a good guide on how to start sewing can get you comfortable with the basics you'll need for this project.
Creating the Initial Shell
First things first, lay your two big pieces of fabric on a flat surface, making sure the "right" sides (the pretty, patterned sides) are facing each other. Pin them together all around the edges to keep them from sliding.
Now, sew a solid seam around three of the four sides, leaving one of the shorter ends totally open. You've just created a big fabric pouch. I highly recommend double-stitching these seams for extra strength—remember, they'll be holding a lot of weight.
Once you're done sewing, turn the pouch right-side out. It should look like a giant pillowcase. Give the seams a quick press with an iron for a crisp, professional finish. This little step makes everything that follows so much easier.
Marking and Sewing the Grid
Time to create the channels that will become your pockets. Grab your fabric marker and a long ruler, and draw vertical lines from the bottom seam all the way to the open top. Aim for channels that are between 3 to 5 inches wide. If you go any wider, the filler will slide around too much. Any narrower, and you'll have a tough time filling them.
Once your lines are marked, just sew straight down each one. You should end up with a series of long, vertical channels. This is the skeleton of your pocketed grid.
Pro Tip: If you have a walking foot for your sewing machine, use it! It helps feed both layers of fabric through at the same time, which prevents the material from puckering up while you're sewing those long, straight lines.
Next up are the horizontal lines. Mark your first one about 3 to 5 inches up from the bottom seam. This will form your first row of pockets.
The Fill-and-Sew Technique
This next part has a nice rhythm to it and is where your fabric shell really becomes a weighted blanket. It takes a bit of focus, but it's surprisingly simple once you get going.
- Measure and Fill: Using your kitchen scale, weigh out the exact amount of filler for a single pocket (you figured this out earlier). Use a funnel to pour the filler into one channel, letting it settle at the bottom. Do this for every channel across that first row.
- Seal the Row: Once the whole row is filled, you need to lock it in. Smooth the fabric out, making sure the filler is pushed down firmly. Pin the fabric just above the filler and carefully sew along that horizontal line you drew.
- Repeat Upward: Now you just repeat the process. Mark your next horizontal line 3 to 5 inches above the seam you just finished. Fill each channel with filler, then sew that row shut. Keep up this fill-and-sew method until you get to the top.
When the final row is filled and sealed, just fold the raw edges of the open end inward, pin them closed, and sew a final, secure top seam. It’s always a good idea to double-stitch this last seam for peace of mind.
The No-Sew Fleece Tie Method
No sewing machine? No problem. You can still make a super cozy and functional weighted blanket with two layers of fleece and some clever knotting. This method is really forgiving and makes for a perfect weekend craft project.
Preparing Your Fabric
Lay your two pieces of fleece on a large, flat surface. Trim them so they're exactly the same size. Then, from each of the four corners, cut out a 4-inch by 4-inch square. This is a crucial step for getting clean, tidy corners when you start tying.
Next, it's time to create the fringe. Along all four sides of the fabric, cut 4-inch-long strips that are about 1 to 2 inches wide. Make sure you cut through both layers of fleece at once so the strips line up perfectly.
Creating and Filling Pockets
You're going to adapt the fringe-tying technique to make pockets. Instead of tying all the fringes at once, you'll work in rows, just like with the sewn version.
Start by tying the double-layered fringe strips together along the bottom edge and then up one of the sides. Use a secure double knot for each pair of strips. This creates your starting L-shape.
Now, you need to define your pocket "columns." You won't be sewing lines, but you can use the fringe as a guide. For example, you might decide that a column is 4 or 5 fringe-strips wide.
Pour your pre-measured filler into that first "pocket" area in the sealed corner. Then, create the vertical wall of that pocket by tightly tying the next 4 or 5 fringe strips together. This locks the filler inside. Continue this process—fill a section, then tie the strips to seal it—all the way across the first row.
Once that first row is done, you have to create the horizontal seal. This part is a little tricky. You'll need to carefully tie the top layer of fringe from one row to the bottom layer of the row above it, essentially making a knotted "seam" between them. It won't look as neat as a sewn line, but it does the job of keeping the filler in place.
Repeat this fill-and-tie process, row by row, until the whole blanket is finished. The last step is to tie up the remaining fringe along the final open side. You'll end up with a plush, handmade blanket with the weight securely knotted right into its structure.
Finishing Touches and Long-Term Care
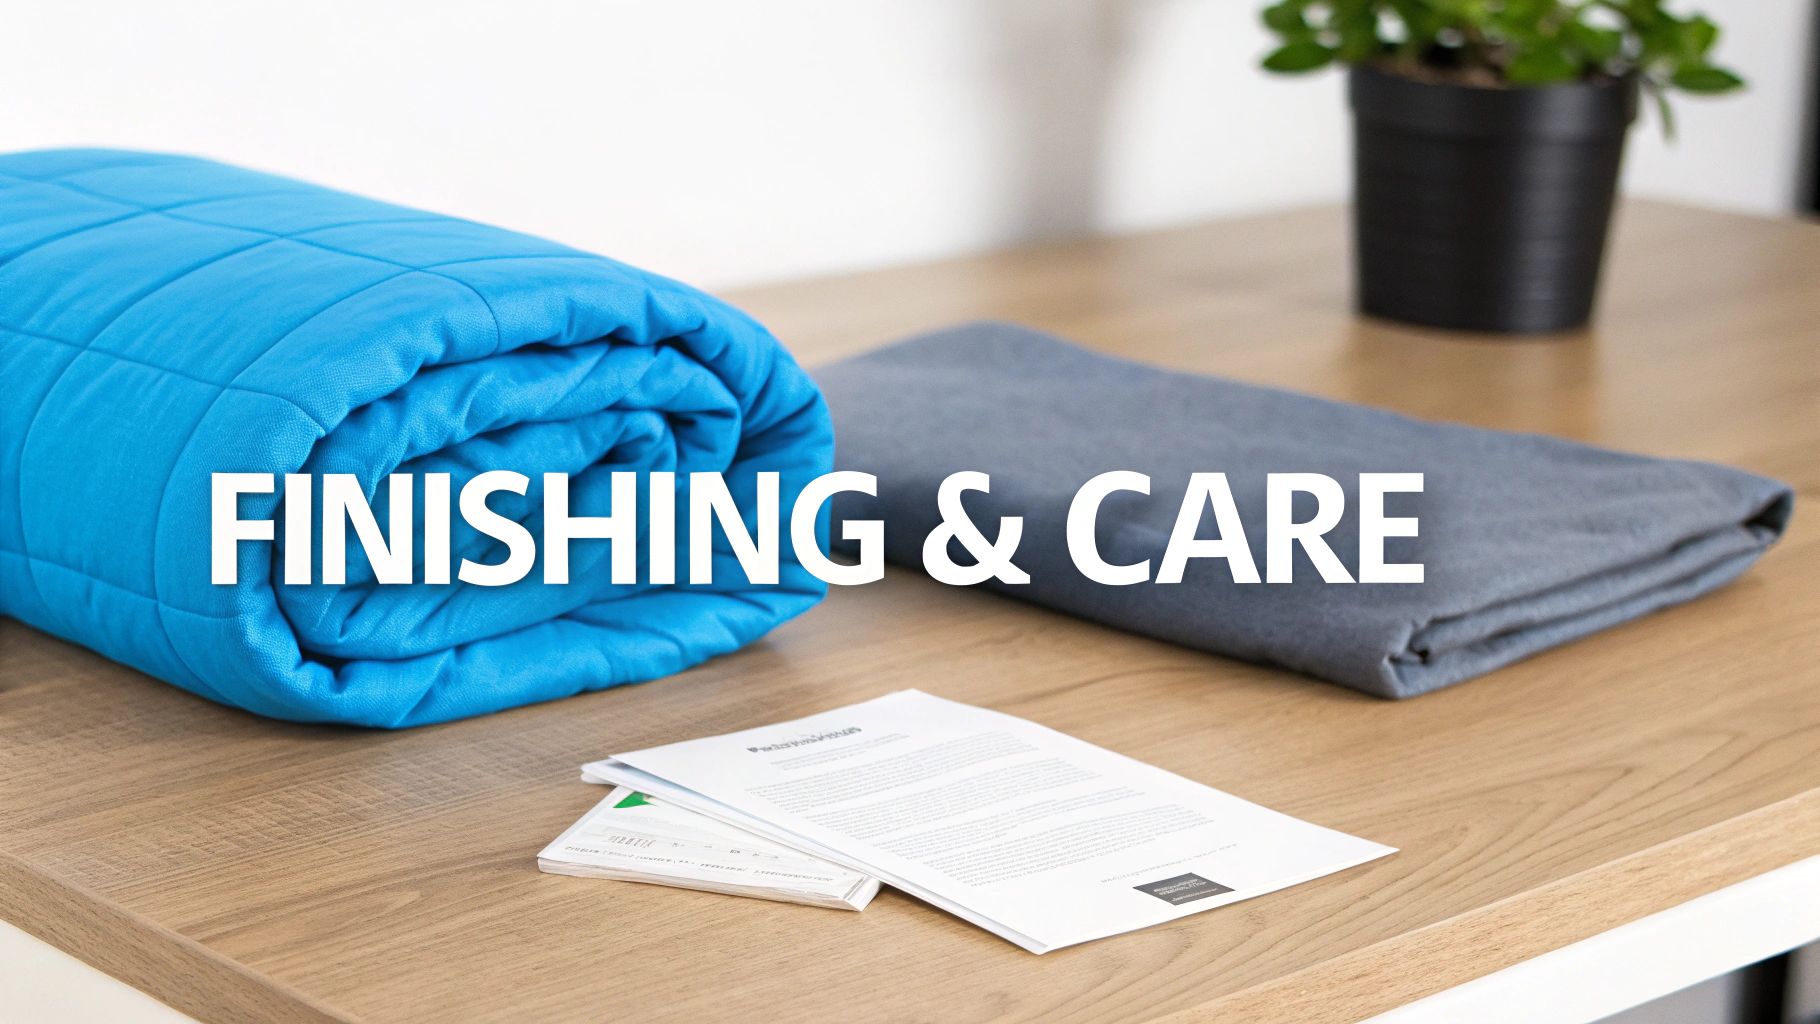
You did it. The final seam is stitched, the last knot is tied, and your DIY weighted blanket is officially a real thing. But before you curl up for a well-deserved nap, let's talk about the details that take your project from "done" to "durable." These last steps are all about protecting your hard work and making sure this blanket can be a source of comfort for a long, long time.
You could get fancy with a decorative border or custom embroidery, but the single most practical thing you can do right now is make a removable duvet cover. Trust me on this one. It acts as a shield against life—dirt, sweat, spills—and means you’ll hardly ever have to wash the heavy inner blanket itself.
Creating a Simple Removable Cover
Don't worry, making a duvet cover is way easier than making the weighted blanket. Think of it as a giant, custom-fit pillowcase. You can use any fabric you like, from soft cotton to that cozy minky you've been eyeing. It's a great way to change up the look and feel of your blanket whenever you want.
You’re essentially just sewing two pieces of fabric together on three sides, leaving one end open. You can add a zipper, buttons, or simple fabric ties to close it up. The crucial part? Sew fabric ties into the inside corners of the cover that line up with loops on the corners of your weighted blanket.
A well-made duvet cover is the key to longevity. It takes the brunt of daily use and is far easier to launder than a 15-pound blanket, protecting the delicate inner construction from wear and tear.
Tying the inner blanket to the cover keeps it from bunching up into a sad, lumpy mess inside. It’s a small detail, but it makes a world of difference in how the blanket actually feels and works.
Washing Your DIY Weighted Blanket
Proper washing is non-negotiable for keeping your blanket fresh, but how you do it depends entirely on what’s inside. Blankets filled with plastic poly pellets or glass beads can usually go in the washing machine. But if you used an organic filler like rice or beans, it must never be submerged in water. Ever.
Before you even think about it, check your washing machine’s weight capacity. Most standard home machines can handle up to 15-20 pounds. Pushing it with a heavier blanket is a great way to wreck your machine's drum. For bigger, heavier blankets, your best bet is a trip to the laundromat to use one of their commercial machines.
Machine Washing Guidelines:
- Spot Clean First: Tackle any specific stains with a bit of mild detergent and a cloth before you wash the whole thing.
- Load Carefully: Drape the blanket's weight as evenly as you can around the drum. This helps keep the machine from going off-balance during the spin cycle.
- Use a Gentle Cycle: Always wash in cold or lukewarm water on the most delicate cycle your machine has. This protects the seams you worked so hard on.
- Choose Mild Detergent: Skip the harsh chemicals and fabric softeners, which can break down certain fabrics over time.
Learning to wash a heavy, bulky item correctly is a bit of a skill. The technique for getting your weighted blanket clean without damaging it is pretty similar to figuring out how to handle washing a king size comforter—it just takes a little extra care.
Drying and Storing Your Blanket
Drying is just as important as washing. You can tumble dry on a low heat setting; tossing in a few dryer balls or clean tennis balls will help fluff everything up and prevent the filler from clumping. Be prepared for it to take a few cycles to get completely dry.
Alternatively, you can air-dry the blanket by laying it flat over a large, sturdy surface like a clean floor or a few drying racks pushed together. Whatever you do, don't hang it up. The sheer weight will stretch the fabric and put way too much stress on the seams.
For a more detailed breakdown, our guide on weighted blanket washing instructions has even more tips to keep your creation in perfect shape. A little bit of proper care goes a long way.
Hitting a Snag? How to Troubleshoot Your DIY Weighted Blanket
Even the most carefully planned DIY project can throw you a curveball. When you’re wrestling with yards of fabric and pounds of filler, it's easy to get frustrated. But don't sweat it. Think of these little hiccups as part of the crafting journey. Most common issues are surprisingly easy to sort out with a bit of patience.
Spotting a Leak
Nothing makes your heart sink faster than seeing a trail of tiny beads escaping from your brand-new blanket. The good news? The culprit is almost always a weak or missed seam, and the fix is straightforward.
Grab a seam ripper and carefully open up the leaking pocket. Pour the filler into a bowl so it doesn't get lost, then get back to your machine. Always double-stitch over the weak spot to give it some extra muscle before you refill the pocket and sew it shut again. A little reinforcement goes a long way.
Lumpy or Uneven Weight
Another common headache is ending up with a lumpy blanket where some squares feel packed and others feel empty. This almost always comes down to inconsistent measuring. Trying to eyeball the filler for each pocket is a recipe for an unbalanced, less-than-soothing blanket.
The solution is to be methodical from the get-go:
- Use a scale. I can't stress this enough. Weigh the filler for every single pocket. It feels tedious, but it's the secret to a perfect result.
- Keep it level. As you fill and sew, do your best to keep the blanket laid out flat. This stops the filler from sliding into neighboring channels before you have a chance to sew them closed.
What if you've already finished and it just feels off? The only real fix is to get out that seam ripper, open the lopsided rows, redistribute the filling properly (using a scale this time!), and sew them back up.
Remember, the whole point of a weighted blanket is that consistent, gentle pressure. Taking the time to weigh each portion of filler is the single best thing you can do to guarantee you get that calming, therapeutic effect you're after.
Fabric Bunching Up
Finally, let's talk about fabric bunching. This is a huge pain, especially on those long, straight seams. It happens when the top and bottom layers of your fabric feed through the sewing machine at slightly different speeds, creating puckers.
A walking foot attachment is an absolute lifesaver here. It has a set of feed dogs on top that work with the ones on your machine to grip and pull both layers of fabric through evenly. If you don't have one, your next best friend is a big box of pins. Pinning every couple of inches will help hold the fabric firmly in place and prevent it from shifting around as you sew.
Even after following a guide, you're bound to have a few questions pop up, especially when you're deep in the fabric and filler of a DIY weighted blanket project. Let's walk through some of the most common ones I hear, so you can finish your blanket with total confidence.
Can I Use Something Other Than Pellets or Beads?
This is probably the top question I get. It's tempting to get creative with fillers, especially if you have things like sand, rice, or pebbles lying around the house. But trust me on this one—it's not a great idea.
Sand is notorious for leaking through even the tiniest needle holes, which means you'll have a constant, gritty mess. Pebbles can have sharp edges that will wear down and tear your fabric from the inside out. Sticking with plastic poly pellets or micro glass beads is your best and safest bet for a blanket that's durable, comfortable, and—most importantly—washable.
What About Making the Pockets Bigger to Save Time?
I get the logic here. Making larger pockets, say 6x6 inches instead of 4x4, seems like a smart shortcut. The problem is, it completely undermines how a weighted blanket is supposed to work.
When the squares are too big, the filler has too much room to move around. It'll just shift and pool in one corner of the pocket, creating hotspots of weight instead of consistent pressure. You lose the whole therapeutic effect.
The real magic of a weighted blanket is in its evenly distributed pressure. To achieve that, you need smaller pockets—usually somewhere between 3 to 5 inches square—to keep the filler locked in place. This is what ensures that gentle, calming pressure is felt across your entire body.
Is a Removable Cover Really Necessary?
Technically, no, you can skip the duvet cover. But it's one of those things you'll be so glad you did later. A removable cover is a game-changer for the longevity of your project.
Think about it: it's a whole lot easier to toss a simple cotton cover in the wash than it is to launder a heavy, 15-pound blanket. Washing the entire blanket puts a lot of stress on your stitching and can wear down the filler over time. A separate cover protects your hard work from all that wear and tear.
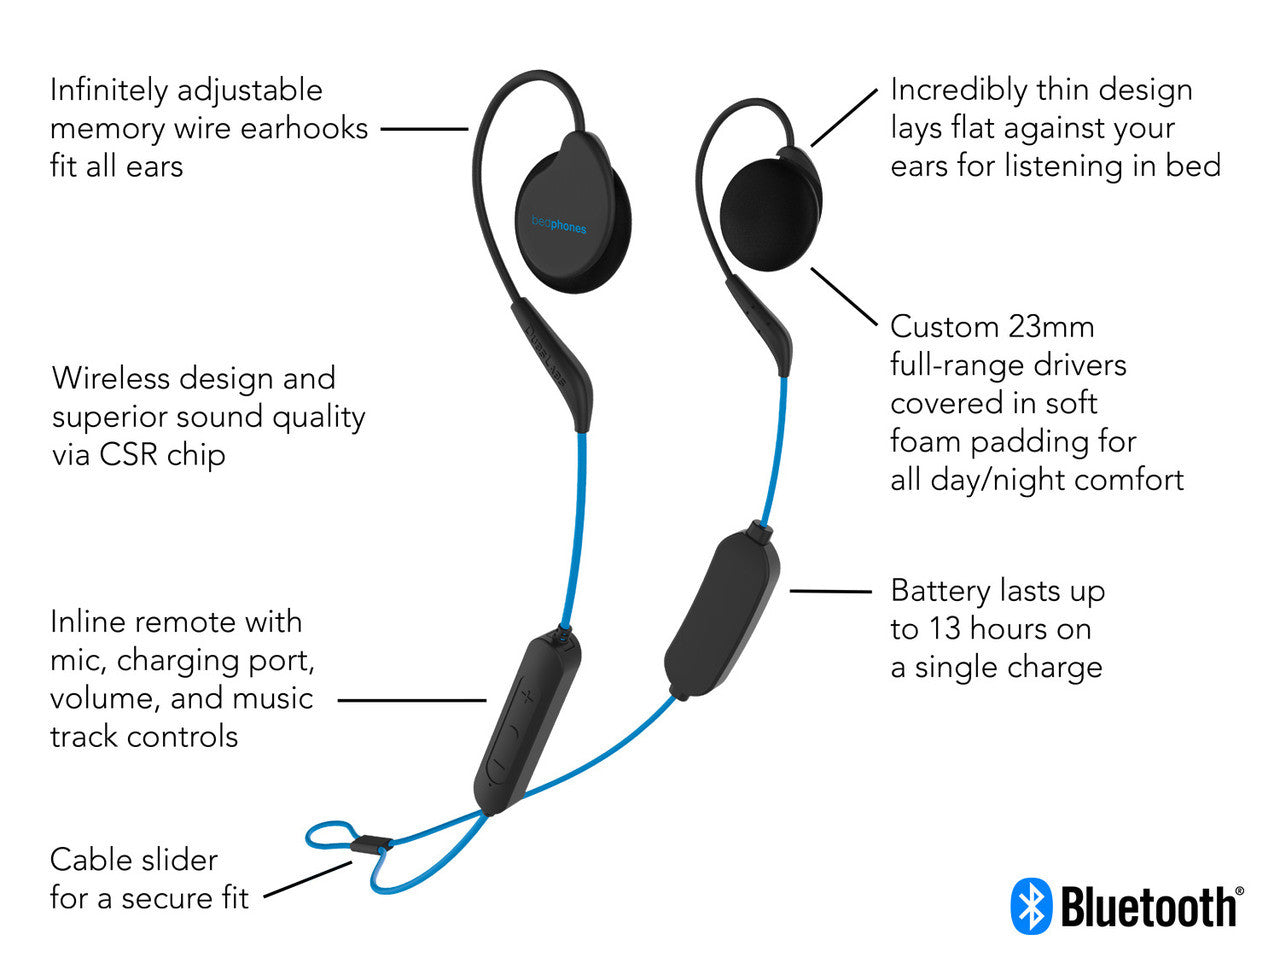
At DubsLabs, we know just how critical deep, restorative sleep is for your well-being. If a DIY project isn't on your radar right now, we invite you to explore our expertly crafted sleep solutions. From our premium weighted blankets to our signature Bedphones, everything we make is designed to help you rest better, starting tonight. Learn more at https://www.dubslabs.com.